
So I can be a proud artsy fartsy creative mummy – I have actually completed something worthy of Pinterest and in this post I’ll take you through the process of how I went about making it! What I will admit before I start (which I haven’t seen on other creative/crafty posts – whether it’s because they’re just more organised than me or just don’t admit it) it took me from ordering the A2 canvas in August 2014 to planning this in September 2014 and finally producing the completed article in April 2015… only eight months… oops…
This all started because I love the song “This House” by Gary Barlow (My 5 year old has told me she thinks she’s “getting in love with Gary”, time to listen to another CD in the car I think – but I digress!!!) – I identify with the lyrics and just think it’s a beautiful song – I’d also been inspired by some canvasses my friend had done with her children – using masking tape and paint – remove the masking tape and you’ve got a beautiful canvas!
So I took the line I most liked from “This House” and planned it on an A4 piece of paper – laying it out and getting the idea of what I wanted my canvas to look like!

Then placed it in the plastic bag with the canvas (ordered from Amazon, link found above) where it sat (and collected dust) until 29th March 2015 – when I finally got to work! I used 25mm width masking tape – which I split into four;
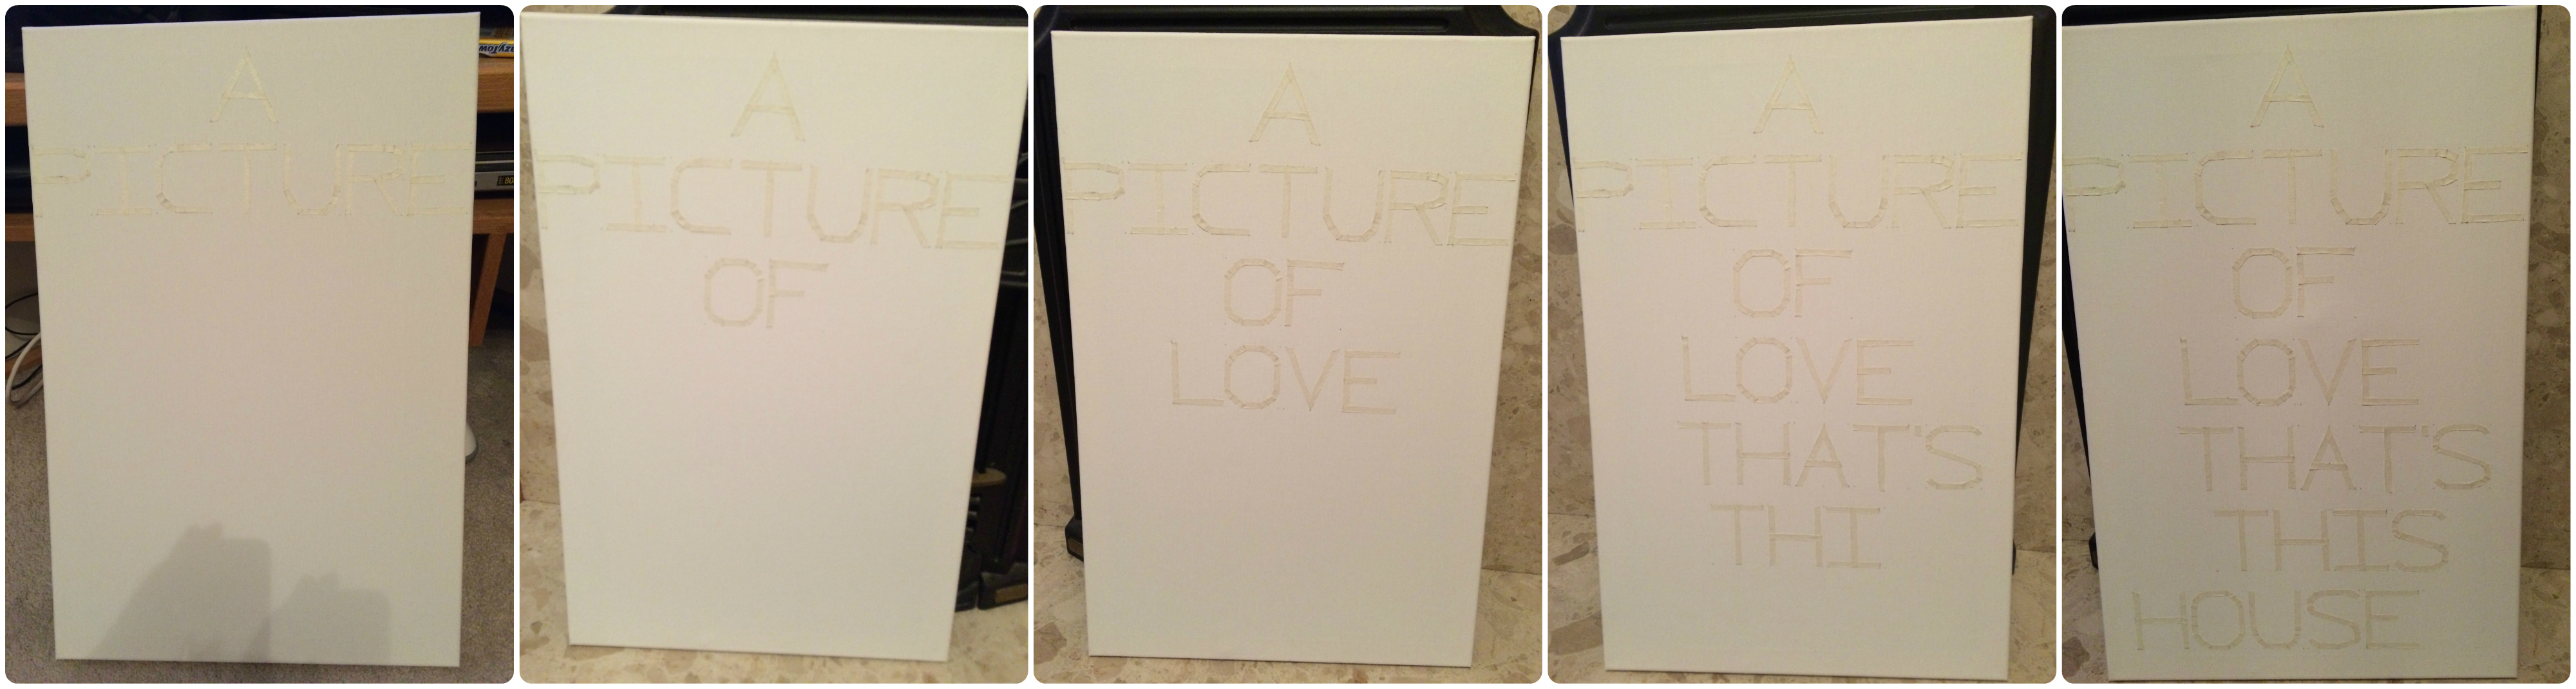
This took me about three evenings, 2/3 hours each time, whilst watching TV and sometimes faffing! I did then find that this supposedly A2 board wasn’t quite four pieces of A4 – it was slightly narrower so had to adjust my measurements – I reduced the distance between the letters, so wasn’t too bad in the end!
Initially I was going to paint the whole thing using all our handprints, but I thought this might not be enough to make the words stand out, so I then split the image into four sections and make a paler version of the colour I wanted each of our handprints to be.

Next was time to add the handprints – so started with myself and the husband! My handprints are purple and the husband’s are green. I did ours top and bottom so that they surrounded our children. Once these were dried, the next day was to add the children’s! By this point, I’d spent a lot of time and effort on this, so I was very vocal to the children that they were to only put their hand down when I told them and not to move it around so it smudged the colour (way to go mummy, removing the fun from this activity) – they were both very good! Unsurprisingly – I did the Pink Ones handprints pink and the Blue Ones handprints blue! Though the Pink One told me after she would have preferred red! I told a fib and said we didn’t have any red – she caught me out! “mummy – come here please, you said there was no red, I have checked the box and there is red…!?!” Oops…
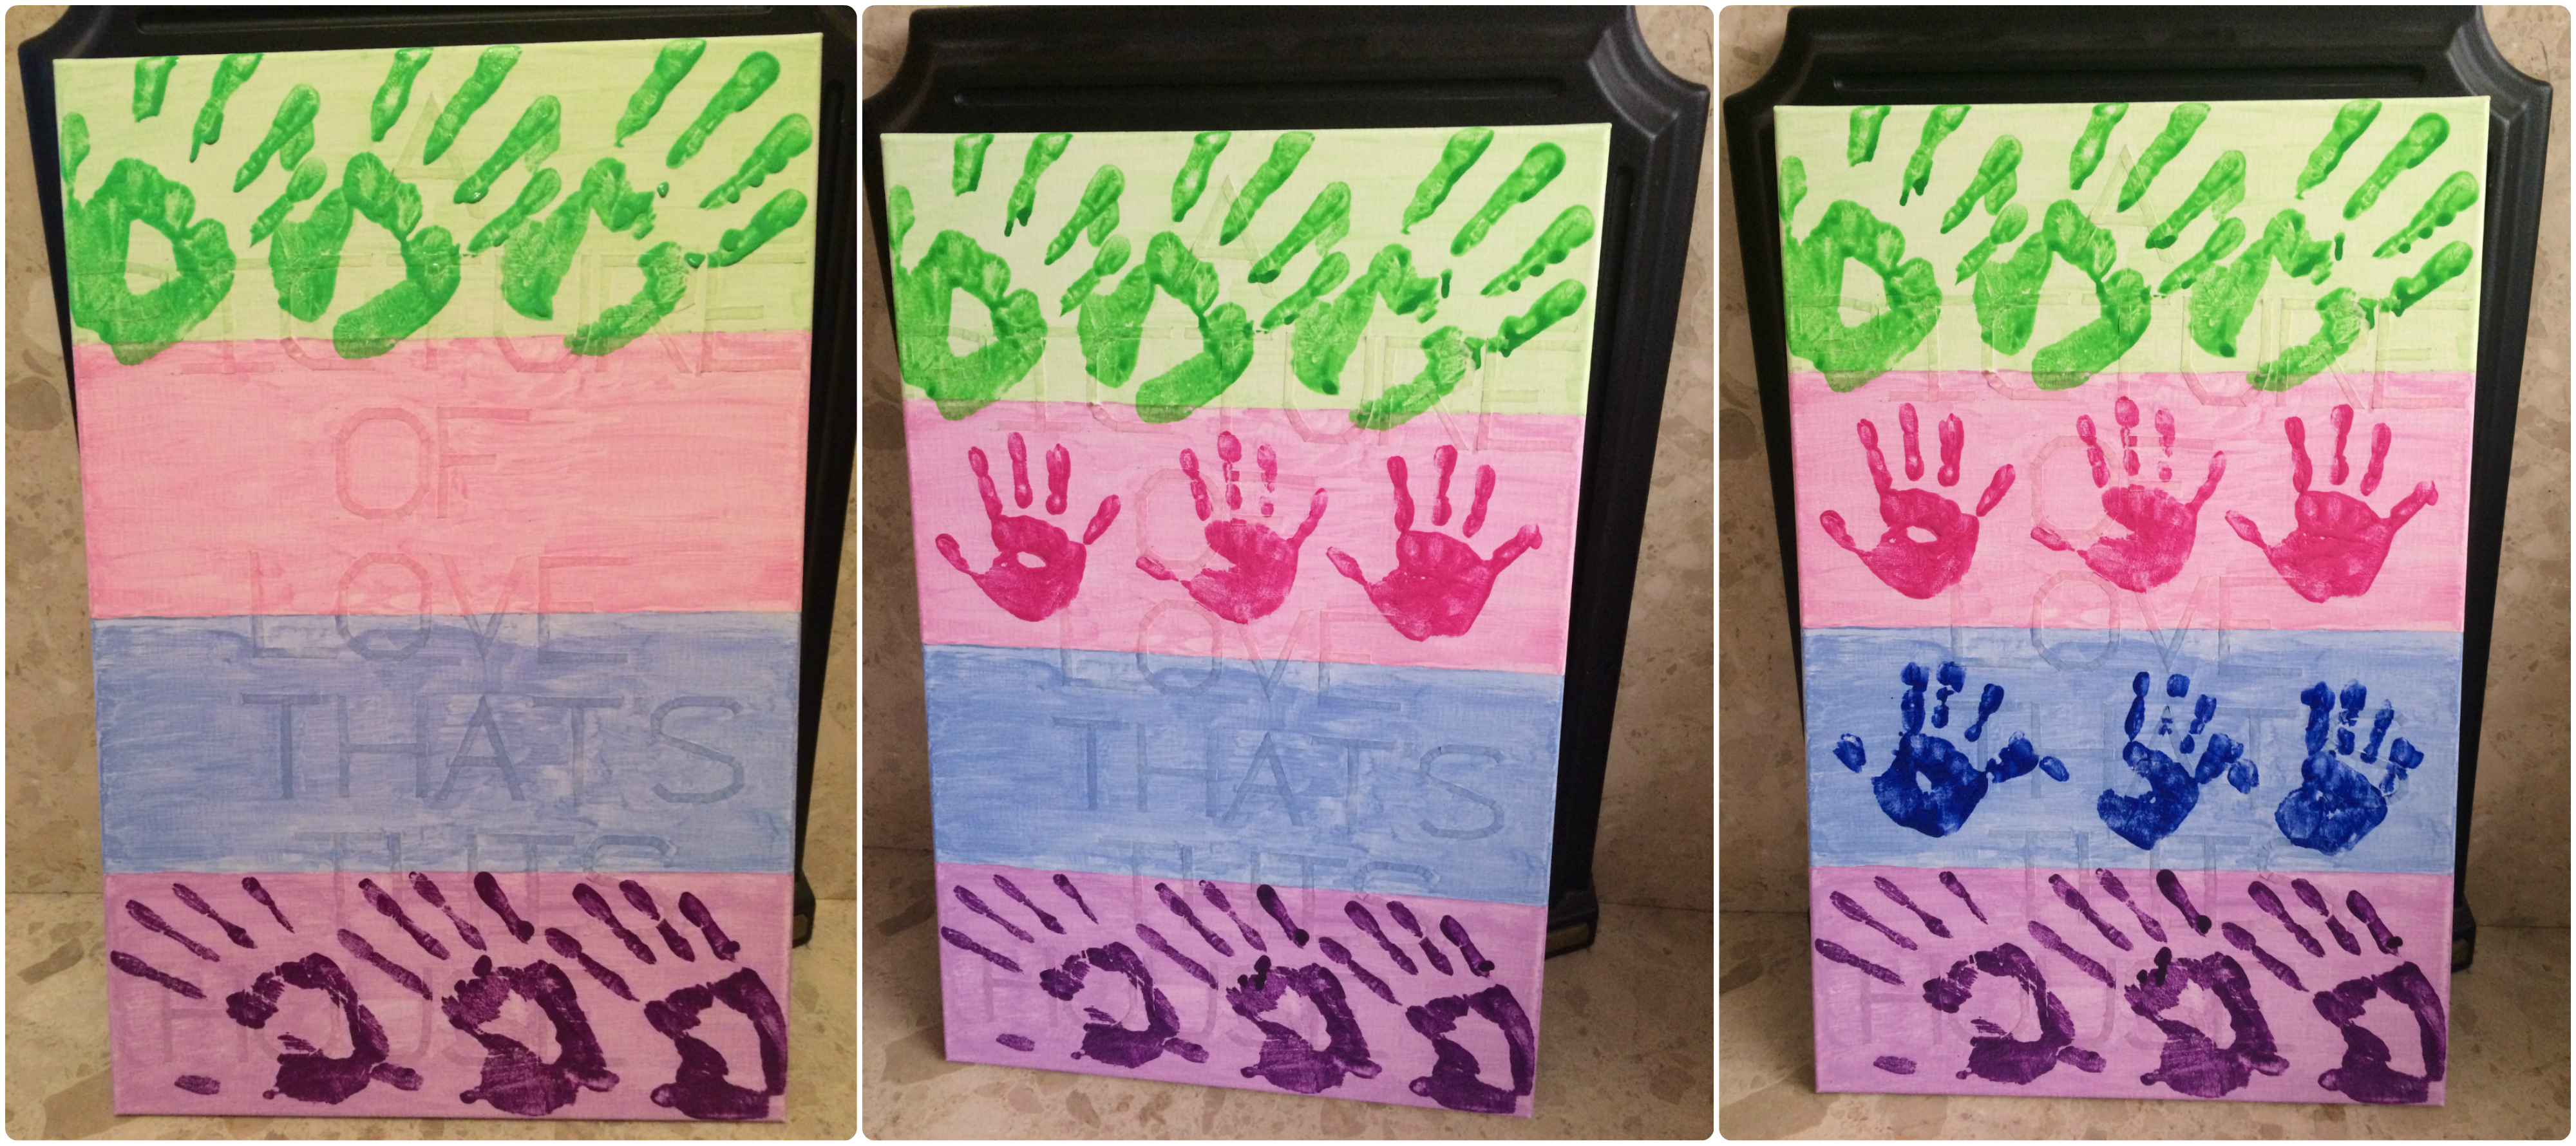
I still find it strange that the Pink One and the Blue One’s handprints are similar in size, considering the Pink One is 2 years and 3 months older!!!
Next was the fun bit (though slightly nerve wracking after all that work) – well for me anyway – the removal of the masking tape!!!

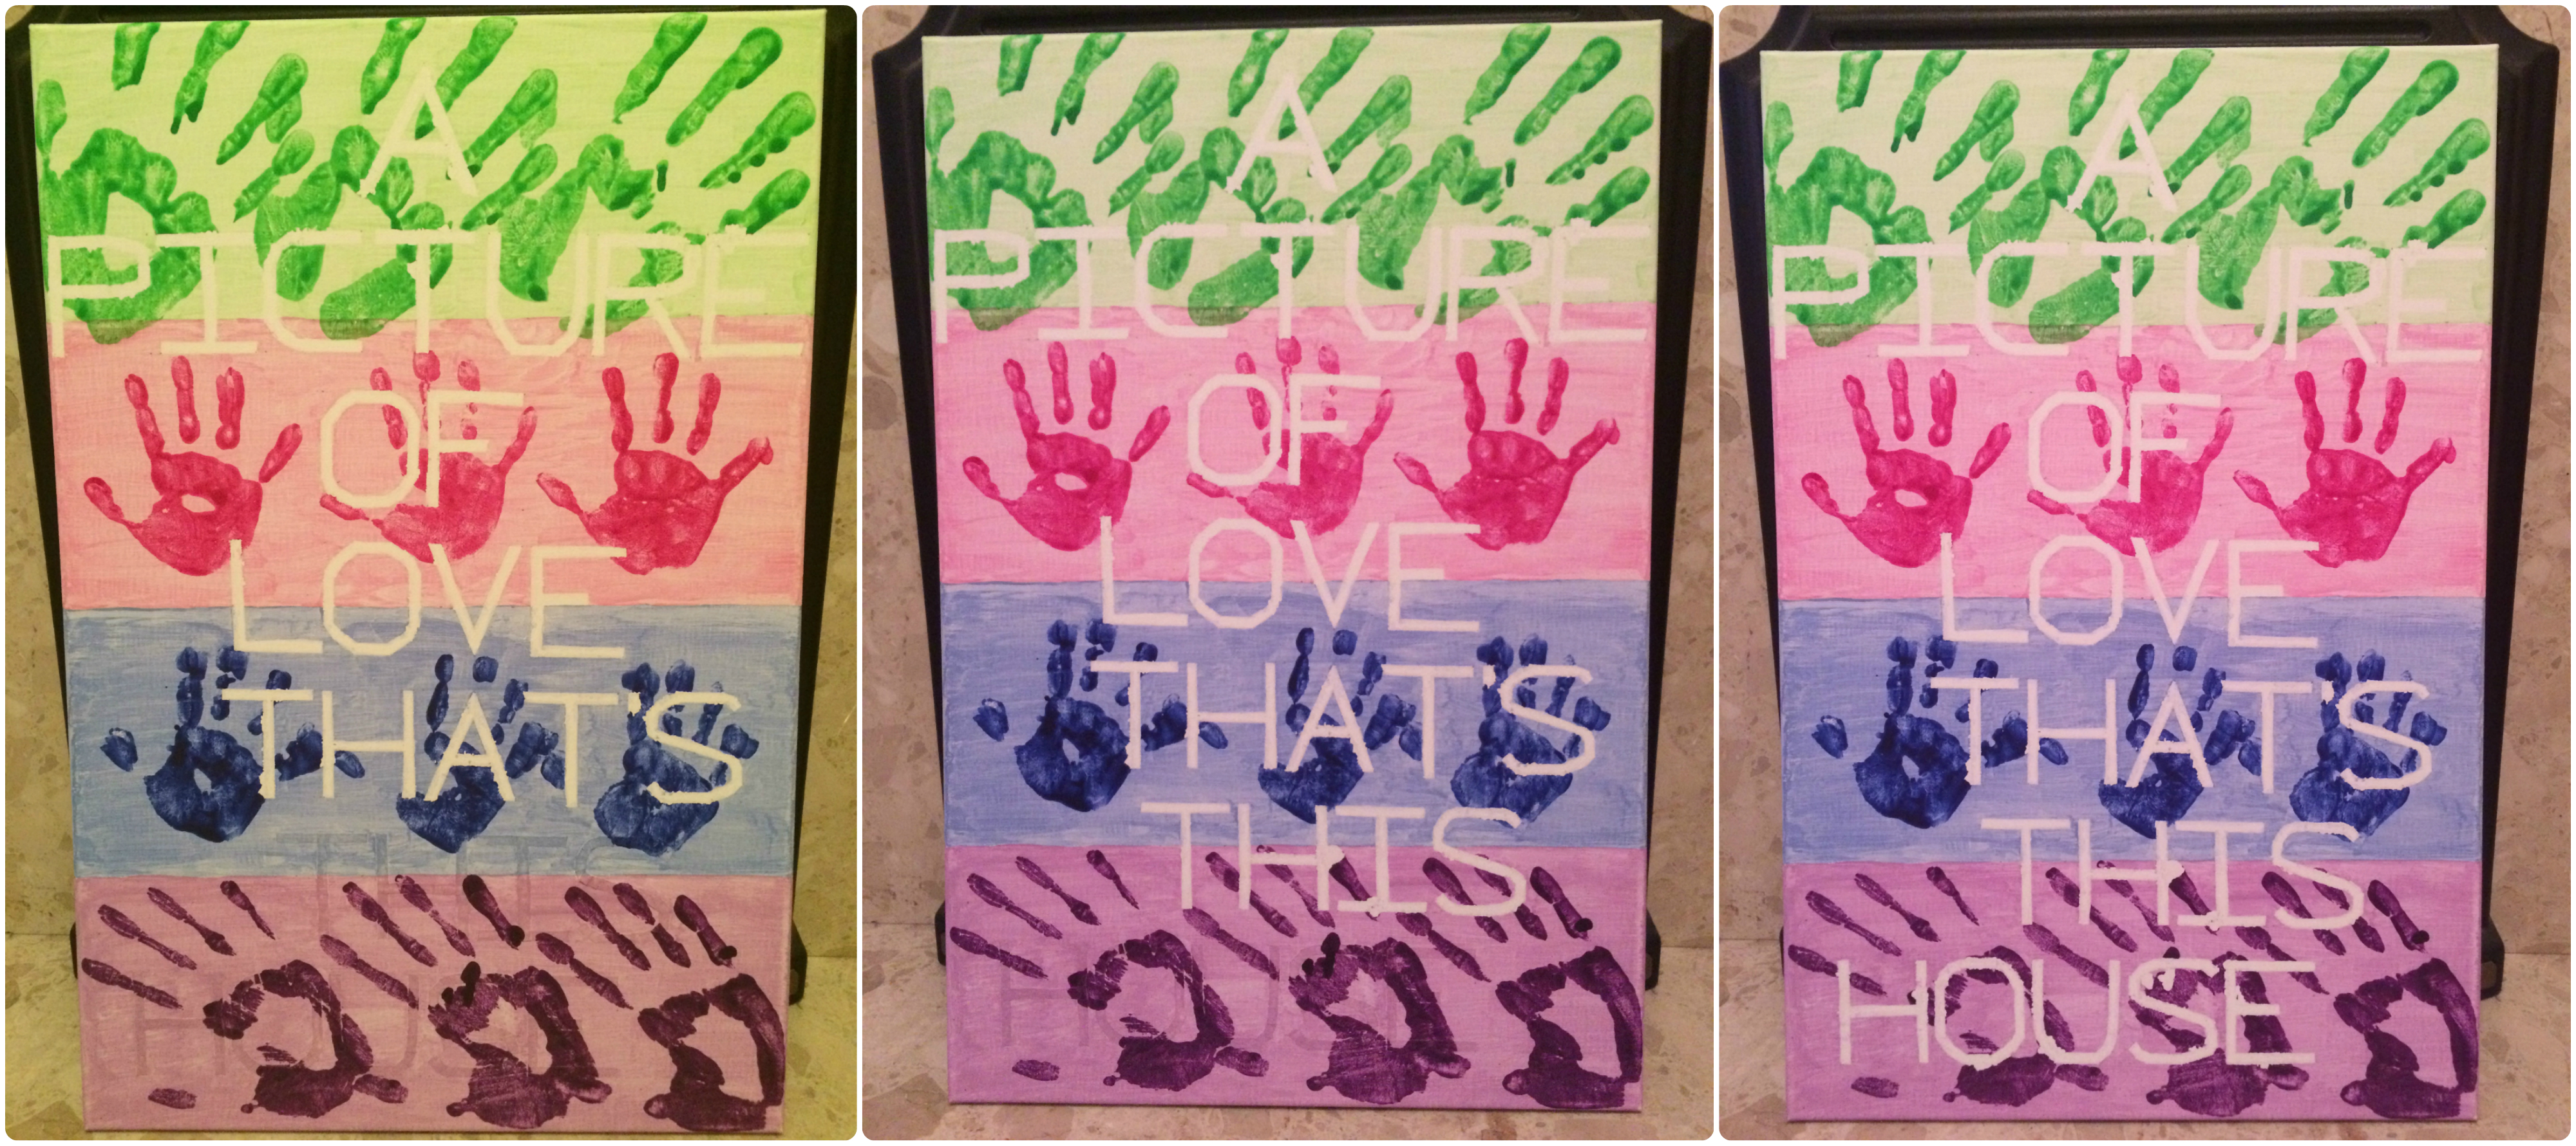
The only annoying thing was, because I used really high quality ELC poster paint (about £1 per bottle), where bits of the paint were thicker on the handprints, as I took the masking tape off the paint flaked – but not to worry, a little touch up with some more paint and it was done!!! Yay!!!

I am super chuffed with this, it may not be perfect, it may not be exactly as I imagined it, it may not quite have been the family affair I initially envisioned (yes I got a little possessive!) and the ‘A’ may not stand out as much as I would have liked, but over all it came out just great! The sentiments of the image may not seem to be in this household all the time – but this is a house filled with love… most of the time!!!
So, what’s the estimated length of time before it actually gets put up on the wall!?! Haha!!!
Any questions don’t hesitate to contact me! I would be very happy for any comments or if you’d like to share this post – it would be much appreciated!!! Share with me any of your masking tape creations – that would be fabulous to see!!! 🙂 xxx

This is soooo cute!
I am very impressed! I think I would have been stood there shouting orders like a Seargent Major. I find art hard with my sons (2&4) because I’m a bit of a control freak 😂 Around every six months, I decide that it’s would be lovely to paint with them, then it’s another six before we attempt it again 😂 A bit like childbirth, the memory of the stress fades… 😜 X
LikeLike
Oh thank you! I sooooo can relate to that! I am a complete control freak (there are no mixing of Play-Doh colours!) I get ‘rose tinted glasses’ ideas of how things should go and then I get all annoyed and grumpy when my 5 year old and 3 year old don’t follow to my ideal!!! Your comment has really made me smile! Thank you for commenting! 😊xxx
LikeLike
This turned out really well! Congratulations. I’m just as bad as you for putting a project aside and leaving it for months (years in some cases). Just see my post on a cradle renovation I did. http://threesonslater.blogspot.de/2015/03/cradle-renovation-tutorial.html
LikeLike
Thanks Fionnuala! Least I know it’s just not me! I did a photo frames on my wall too – and it took me a year to actually get them on the wall! Terrible aren’t we!?! I’ll check out that post! Thanks for taking the time to look at my blog! 😊xxx
LikeLike